How To Identify Rocks and Minerals During Nature Study
Why would you want to identify rocks and minerals during nature study? Heck, why would you even care to observe rocks when there are so many other things to see in nature? Rocks are boring. They’re dull and colorless. Once you’ve seen one, you’ve pretty much seen them all.
Be honest. You’ve thought some of those thoughts before, haven’t you?
When we first began nature study in our homeschool, I held off learning about rocks for quite some time. Honestly, I had no idea what we were going to do with them.
But I soon realized that we just hadn’t yet learned how to look at them with eyes of wonder and excitement.
I received complimentary products and compensation from Home Science Tools in exchange for writing this post. As always, my opinions are strictly my own. Affiliate links are included in this post.
Rocks and Minerals Are Interesting
There’s more to discover about rocks and minerals than you might think. For example, the unique process of the rock cycle is why so many stones have sparkles or debris in them. You can even discover the many ways rocks have been used throughout history.
When you take the time to observe rocks seriously, you’ll begin to note their varied colors and textures. Finding unique sparkles and fossils will be especially exciting.
You can do characteristic tests in the field to help identify rocks and minerals. Special lights can be used to view minerals you may have missed. And geologists can teach you many things you never knew about rocks during field trips.
One of the main reasons I wrote NaturExplorers Hard as a Rock was to help you discover just how cool rocks and minerals are as a nature study topic. Best of all, rocks are very easy to find on just about any nature walk, making it easy to find specimens for study.
A Successful Rocks and Minerals Nature Study
Eli and I recently spent a couple of weeks doing a rocks and minerals unit study. We don’t always choose the unit study approach for nature study, but it was the perfect option for relaxed learning during the lazy days of summer.
We’ve studied rocks several times before, so we decided to spend much of this unit study focused on learning to identify the rocks in our area of KY. (See links to some of our other rock experiences at the bottom of the post.)
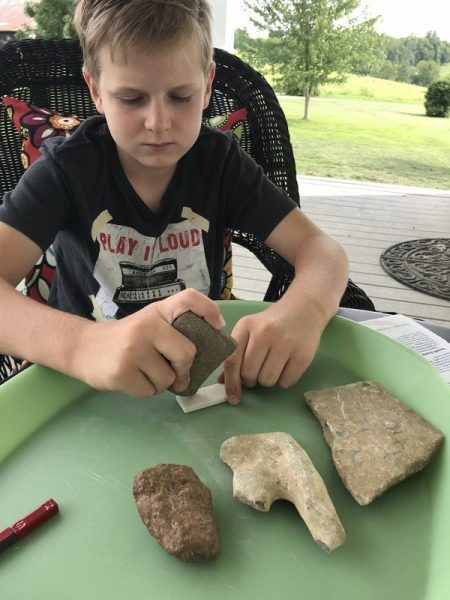
(Funny story about Eli’s face in this picture. He was performing a streak test to determine the hardness of the rocks he had collected and cringed at the sound they made on the streak plate. Ah, the boy takes after his momma.)
Nature Study as a Unit Study
Any good unit study begins with hands-on and/or real-life experience with the topic at hand. That’s undoubtedly true when learning about rocks and minerals. We wandered the farm almost daily, using ideas from Hard as a Rock to look for new rocks to add to a growing rock collection. We also took a couple of trips to nearby trails to gather different specimens. (Always get permission before collecting anything from property that isn’t your own.)
We would try to identify rocks and minerals from our collection. Rock identification is more difficult than you might think to the untrained eye. However, we had several tools at our disposal, and I think we were mostly successful in our task.
4 Steps to Identify Rocks and Minerals
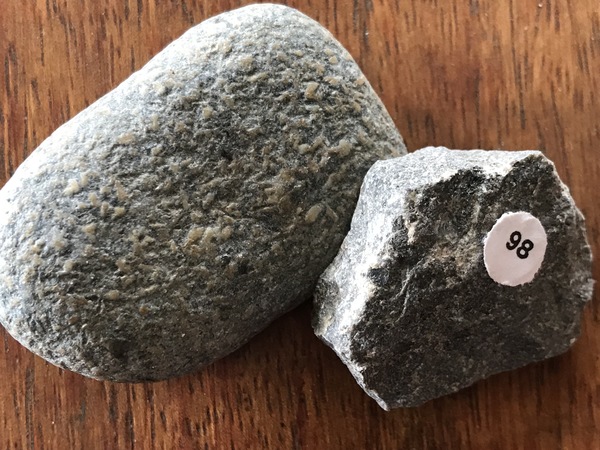
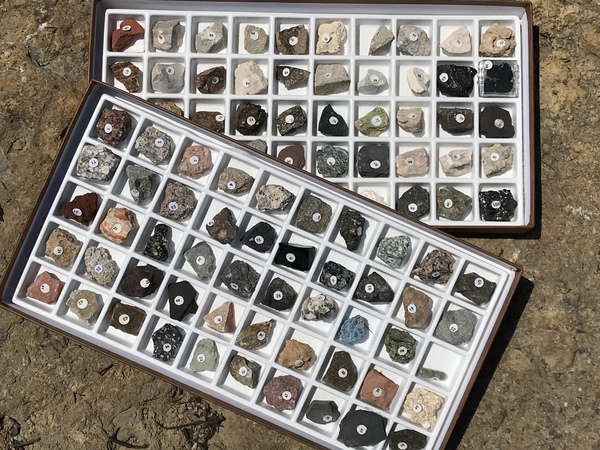
1. We have a wonderful collection of 100 rock specimens from Home Science Tools that we used as the first step in identification. We compared our rocks to those in the specimen set to narrow down which rocks we may have collected.
(This particular specimen set includes rocks from all over North America. We easily found samples for most of the rocks we collected. We also had plenty of opportunities to research and learn more about some of the stones from the set that caught our attention, even though we don’t have those specific rocks in our area. Double win.)
2. Then, we looked up the potential varieties in our rocks and minerals field guide to help us narrow the identification further. The descriptions from the field guide gave us clues that encouraged closer observation of each rock. (Occasionally, we needed to look up certain rocks online since we couldn’t find them in our field guide.)
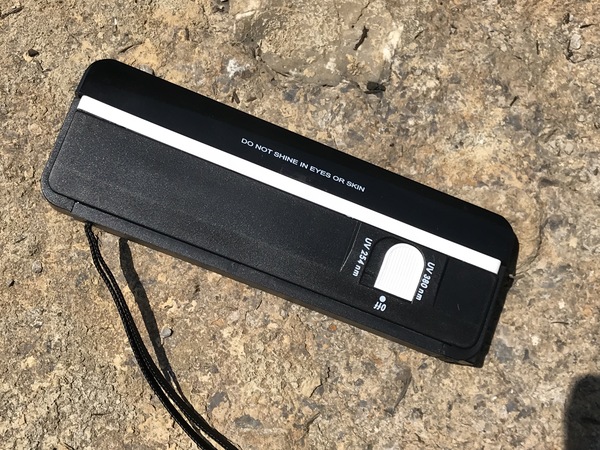
3. Eli loved using a shortwave and longwave ultraviolet lamp to see if minerals were present within our rocks. We had never used a UV lamp in our previous studies, but it’s really cool because minerals glow under one or both lights! Bright, fluorescent colors! Seeing the colors didn’t help us identify the minerals, but we didn’t care. It was great to see them glow.
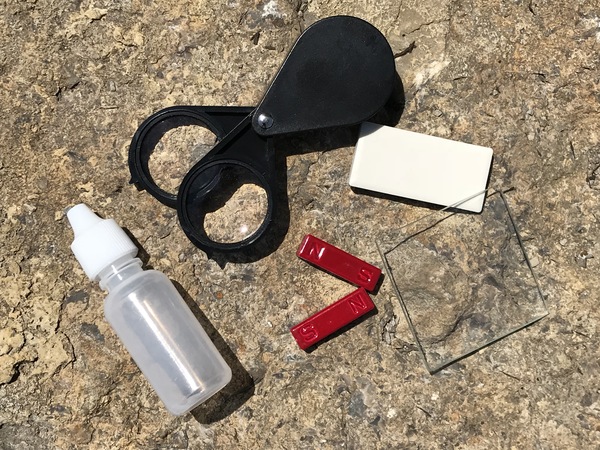
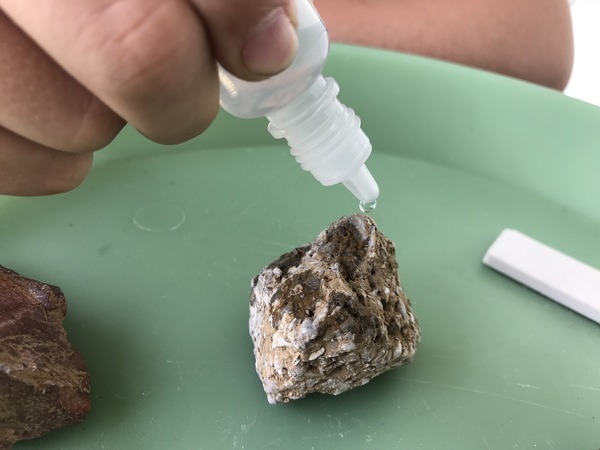
4. And last, we performed tests to help us learn more about the characteristics of the rocks and minerals we had collected. The mineral test kit from Home Science Tools is an inexpensive way to have just about everything you need to complete hardness, magnetism, streak, specific gravity, and acid reaction tests. We compared the results of the various tests to the information in our field guide to help us make final identifications.
With a plan and some good tools, rock identification was pretty easy! When studying rocks in the past, we often skipped identification in favor of other activities, as having five different rocks seemed intimidating, with very little to go on otherwise. Now, we feel much more confident in our ID skills!
Making Mineral Observation a Reality
Rocks are easy to observe in the field (or at home), but minerals are a little more complicated. As I’ve already mentioned, we saw evidence of minerals through our identification activities, but we didn’t collect any rocks with minerals big enough to observe in detail.
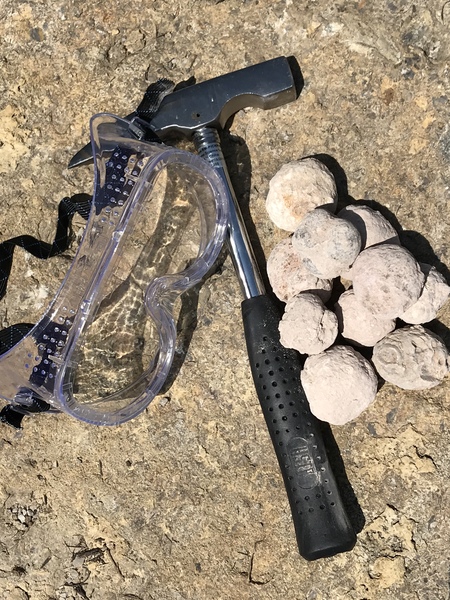
I surprised Eli with a super-fun geode kit that allowed him to observe large-scale minerals. Have you ever cracked geodes before? Oh, it’s the perfect activity for kids! They get to use a rock pick to break apart rocks. Most of the rocks open up to reveal pretty crystals, which are mineral deposits. You never quite know what you’ll find inside (even though most of them will include quartz).
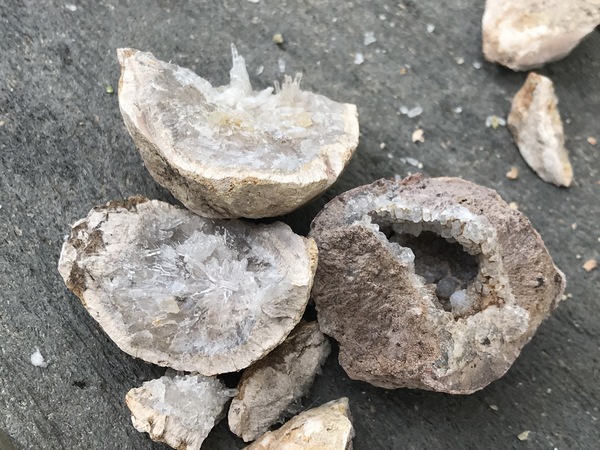
We found several varied crystals! Not only was Eli awed by the experience in general, but he was also able to observe the impressive geometrical structures closely. Through internet research, we also learned that geodes are often found in our home state of Kentucky! This makes sense, considering they are often found in limestone, and we have limestone everywhere here.
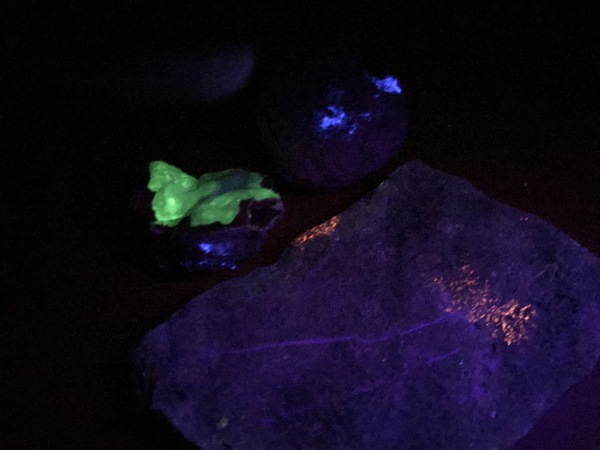
Take a look at what we found when we used the shortwave and longwave ultraviolet lamp over the geodes (and a couple of other rock specimens!) This experience alone has sent Eli into rock-collecting mode. He’s attempting to collect rocks with as many varied mineral colors under the lamp as possible. Now that makes a momma happy.
NaturExplorers & Home Science Tools = A Perfect Match
You certainly don’t have to buy fancy supplies to complete a NaturExplorers study. Ever. However, when you have a little extra cash or need to find nature study items you can’t necessarily find in your area, kits and other supplies from Home Science Tools come in very handy!
For example, when you’re ready to study butterflies and want to observe a life cycle in person, Home Science Tools has you covered with a butterfly growing kit. Or, when you’re ready to study frogs and toads, Home Science Tools can provide you with a frog hatchery kit if you can’t find any in the field. Or, as you study wildflowers throughout the seasons, Home Science Tools can provide you with a sturdy plant press to make wildflower collections ready for mounting in your nature journal.
When you couple nature walks and other NaturExplorers lessons with a few supplies from Home Science Tools, you can have a nature lab right inside your schoolroom!
-
 Butterflies Flutter By$28.00
 -
Frogs and Toads$28.00
-
Wonderful Wildflowers$28.00


More Fun with Rocks and Minerals
I mentioned earlier that we’ve studied rocks plenty of times over the years, and I’ve written about them at least a few times before. Enjoy these additional ideas and have fun as you learn!
Rocks and Minerals Video Classes
Don’t miss the rocks and minerals classes in the No Sweat Nature Study Video Library, too!

How neat. I am in central KY teaching about geodes this week at our co-op!
I hope your study was wonderful, Ell!