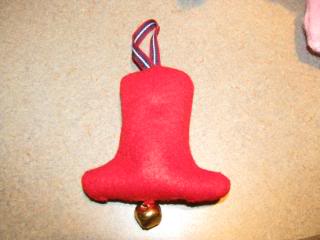
Stuffed Felt Ornaments

These turned out so cute, and they were fairly easy for a beginning to intermediate sewing project.
- Draw the shape onto a piece of felt, making it about 1/4″ bigger than you’d like the finished product to be.
- Double the felt and cut out the front and back pieces at the same time.
- Decide which sides will face outward. Go ahead and sew any buttons, beads or other small pieces onto each piece.
- Place the fronts together so that you can only see the “wrong” sides.
- Sew a straight stitch all the way around the felt, leaving about a 1/4″ seam. BE SURE TO LEAVE 1″-1 1/2″ OPEN SO YOU CAN TURN THE ORNAMENT INSIDE OUT.
- After turning the ornament inside out, fill it with popcorn sized pieces of batting until it’s as fluffy as you desire.
- Sew up the opening with a simple straight stitch.
The kids chose to add a little piece of embroidery thread afterward as a hook, but I sewed a ribbon hook into mine (bell) as I stiched around the edges. My hook is much stronger and more attractive.


I like the little ornaments so cute.
I have included some of these books in our December reading list and am doing the Names of Jesus unit study. Thank you for sharing these.
Ruth