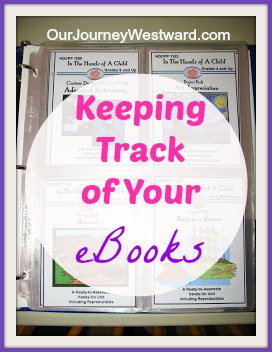
Organizing E-Books
To Print Homeschooling E-books?
I was giddy with excitement when I learned about keeping a visual organizer of all your e-book curriculum from Sheri of Homeschooling on a Wing and a Prayer. I have struggled much with the fact that it’s entirely too expensive to offer my curriculum e-books in print. I know how many of you would much rather have a hand-held copy. Luckily, I’ve found it really doesn’t take that much ink to print the studies from your own printer!
Or Not To Print Homeschooling E-books?
However, many people don’t want to print entire e-books – and I understand! Like most of you, I’ve purchased PDF files from other homeschooling companies and stored them on my computer only to forget about them. Out of sight, out of mind. But…I don’t want you to forget about my NaturExplorers studies and other curriculum – they’re far too much fun to stay hidden in the depths of you computer!
The Question Has a Great Answer!
Sheri has graciously allowed me to share her wonderful idea for keeping a visual file of all your e-book curriculum.
Organizing E-Books Visually
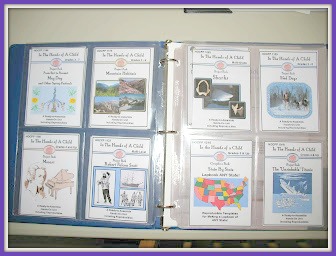
Sheri simply places postcard pocket pages in a three-ring binder and slips resized e-book covers printed on card stock inside the pockets. In the end, she can quickly and easily see exactly which e-books she owns – and can even organize them into subjects, grade levels, seasons or order of use. Isn’t this a fabulous idea??
There are likely several ways to create resized images of your e-book covers, but the method that seems the easiest to me is to:
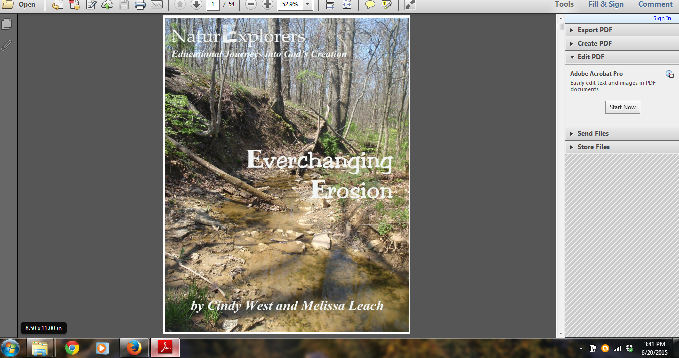
1. Pull up the e-book PDF file and zoom out so that the entire cover page shows up on your screen. Click the “Ctrl” and “Print Screen” buttons at the same time.
2. Open your Paint program and click “Paste.” The entire screen image will show up. At this point, you will need to simply crop the image so that only the cover is left.

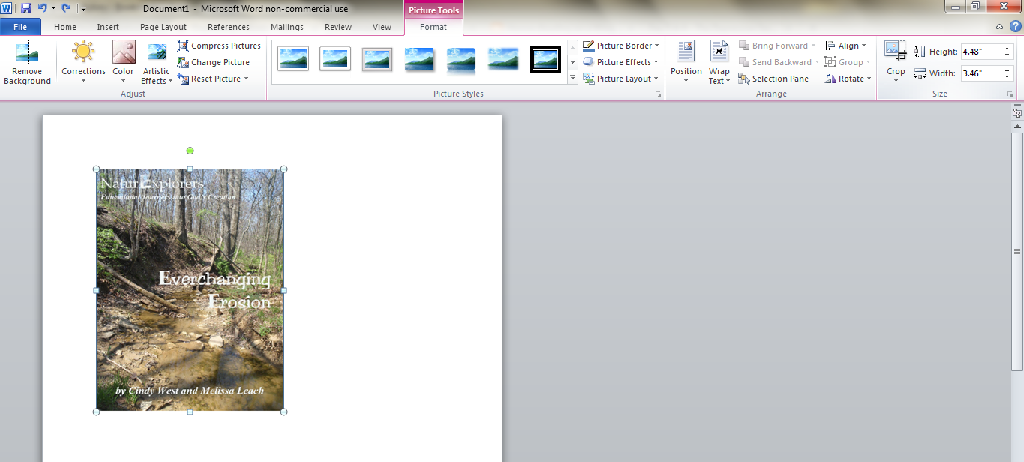
3. In Word (or any other program of your choice), simply insert the cover image. Using “picture tools,” you can easily resize it to fit the dimensions of the pockets. Once resized, all that’s left is to print it on card stock, cut and place it in your binder. (I can usually fit two or three cover images on one Word page before printing.)
While this process may seem a bit arduous, it really only takes two or three minutes per book cover once you get the hang of it. In the end, you’ll have such a great, visual reminder of all your e-curriculum that your time spent will be worth it!
What do you think??

Make Science Meaningful and Fun
Experience a free No Sweat Nature Study class to see how easy and engaging science can be.
Kid-friendly science through the lens of nature study
Creative nature journaling with every lesson
Flexible and fun for the whole family
This is a fantastic idea. So glad you shared it! Now I have something else to add to my to-do list, but it sure beats constantly going through my computer files to see what I have. Thanks!
I love this idea! I have so many e-books on file that I have forgotten about them and now with this new system I will not! Thanks so much for sharing :))
I LOVE this Cindy! THanks for sharing.
Are those 4×6 slots?
I believe so, Sheryl, but you could use any size you like. 🙂
I have a friend who prints the covers out full page and then will print table of contents on the back (for those books that have one). Then she could easily see what all is covered. You can then use tabbed dividers to organize a 3-ring binder. 🙂
Love this idea, too, Diana!!
This is absolutely brilliant! Thank you!
You’re welcome!