An Interest-Based Homeschool Ocean Study
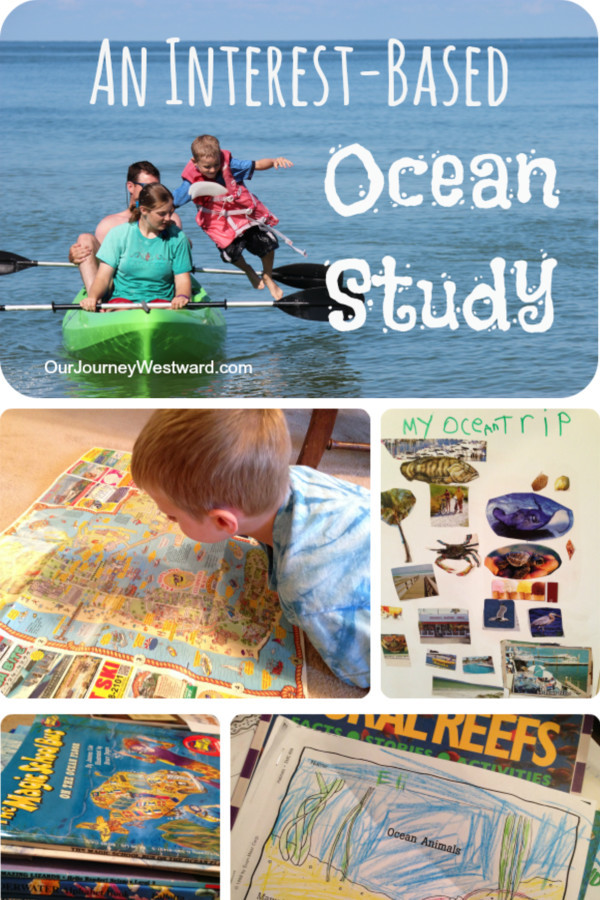
After our early autumn trip to the beach, Eli was immensely interested in beach life. When I found him pouring over one of our souvenir attraction maps, I knew it was wise to capitalize on his enthusiasm. =So…a quick, delight-directed ocean study started immediately. This post contains affiliate links. Interest-Based Ocean Study Rabbit Trails Sometimes interest-based…