
Let’s homeschool creatively together!
Here at Our Journey Westward you’ll find ideas and resources to inspire a love for learning in your home.
School really can be enjoyable – for children and parents! My goal is to encourage you in joyful learning by sharing practical (and easy) lesson ideas for all ages.


Sign up for the latest from Our Journey Westward.
Featured Products
-

-
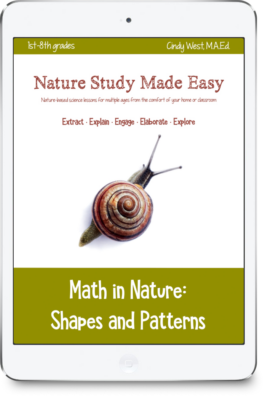
Math in Nature$18.00
-
No Sweat Nature Study MembershipFrom: $25.00 / month

Latest Posts
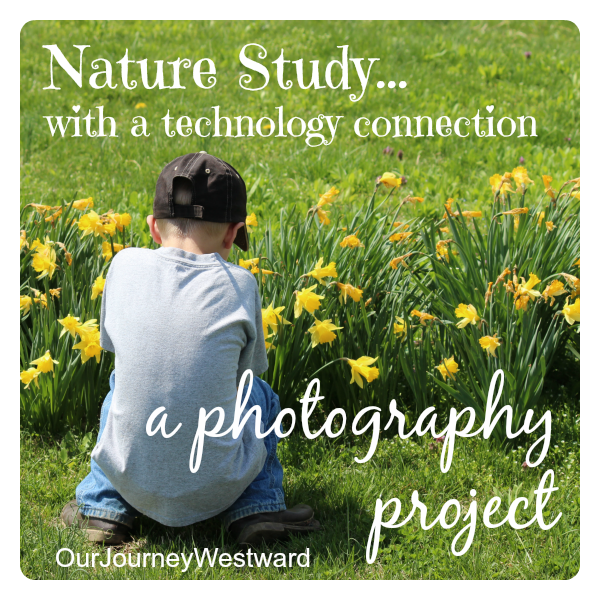
A Nature Study Photography Project For Any Age
Of all the treasures of nature, nothing brings quite a smile to my face and peace to my heart as wildflowers. All flowers are beautiful, but there’s just something about the flowers that weren’t planted by the hands of a human that make God seem just a little bit closer. This nature study photography project can…
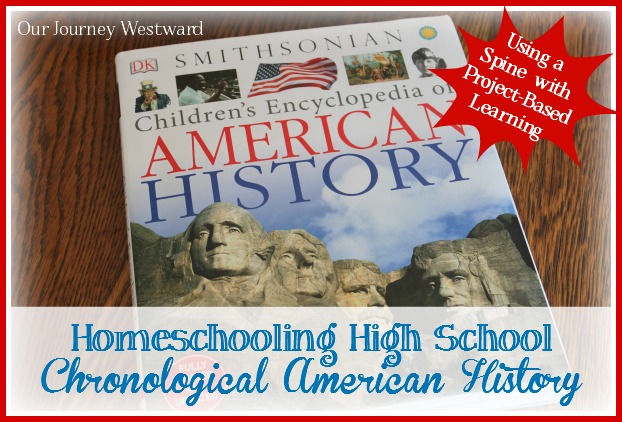
Chronological American History in High School
What do you do with a high school student who has been through two cycles of American history and thinks a third cycle would just be boring and unfruitful? Spice it up and make sure he dives deep! Over the years, our family has followed a four-year history cycle. By the time high school rolls around,…
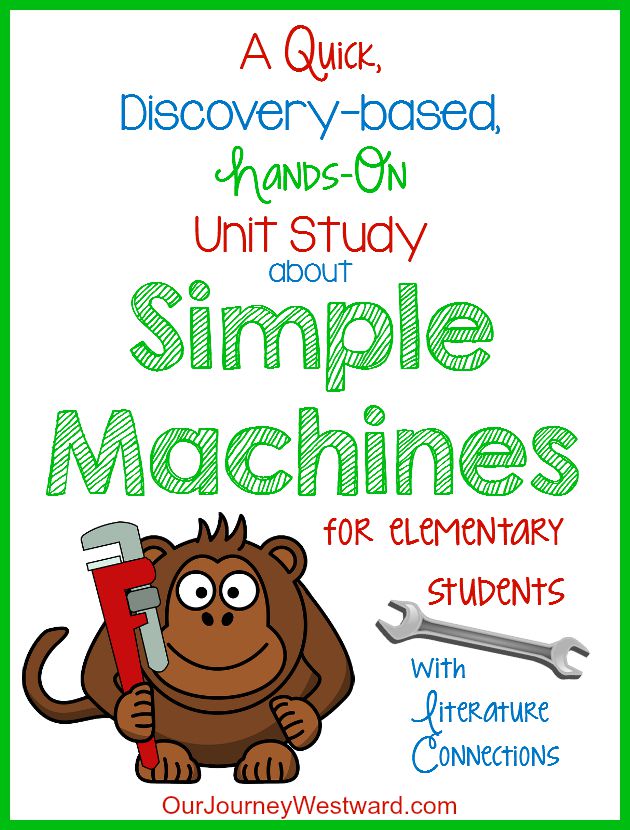
A Simple Machines Unit Study
Teaching simple machines through hands-on, experimental lessons is a hit for children. While gathering materials takes just a bit of time, the engagement factor makes this quick and simple unit study worthwhile. This post includes affiliate links. Simple Machines Unit Study Before reading the first book about simple machines, set up some little centers for self-discovery….
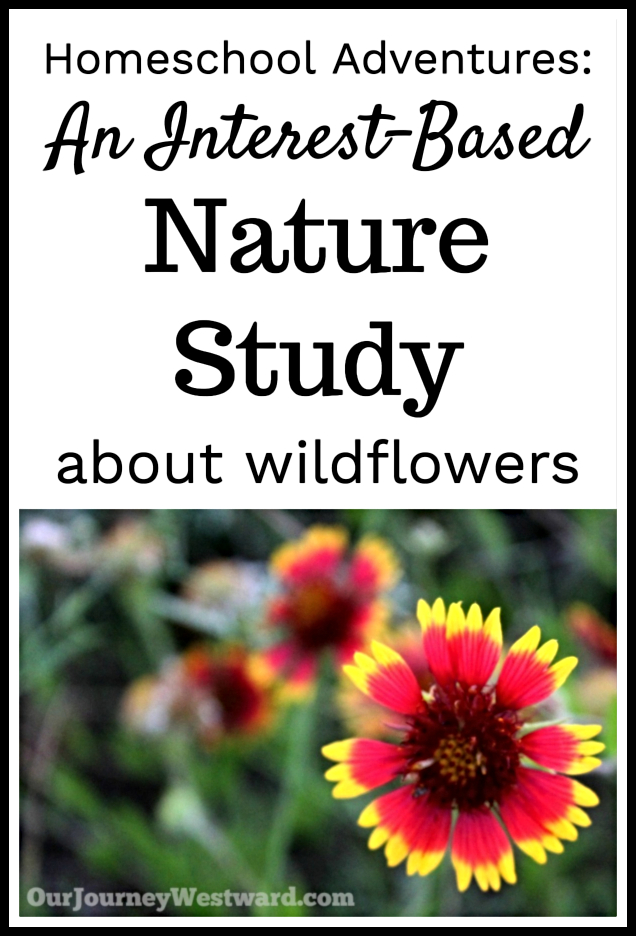
How To Teach an Interest-Based Nature Study with NaturExplorers
It’s time for another peek into the real-life study of nature! In this post, you’ll see how easily Amber Oliver and her children could explore and discover wildflowers through an interest-based nature study. I believe in occasionally letting our children have a say in their schooling. It’s highly motivating for them to make decisions and…
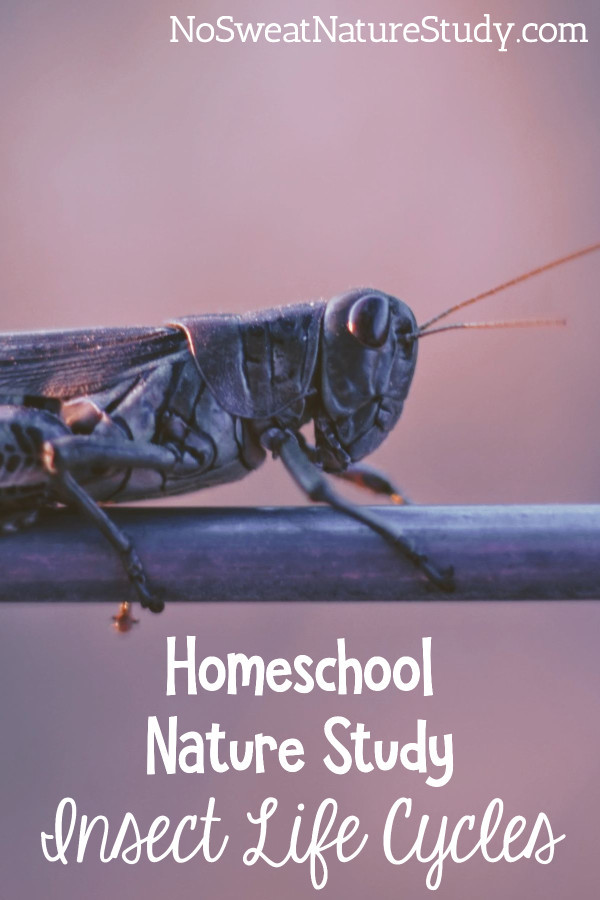
What Is Metamorphosis? An Insect Life Cycles Nature Study
How do you feel about insects? I bet there are at least a few species you enjoy observing! In this insect life cycles nature study episode of the podcast, it’s fascinating to learn about their life cycles whether you love insects or not. Insect Life Cycles Nature Study First, listen to the podcast episode to…
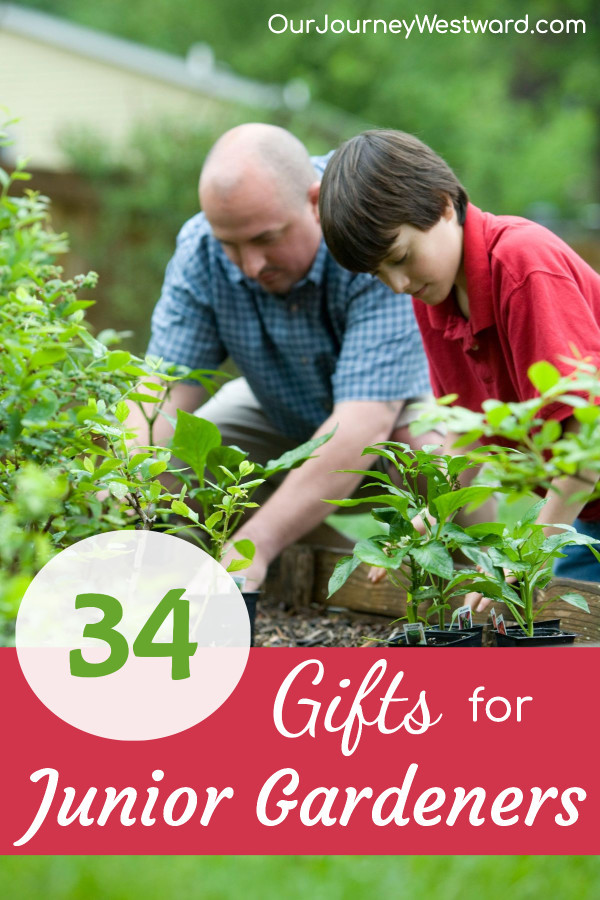
34 Flourishing Gifts for the Junior Gardener
Is there a child in your life who loves to garden? If so, keep reading. I’m sharing some super-fun gifts for the junior gardener that are sure to please! Gardening has so many wonderful benefits for children. First and foremost, it’s a great way for children to burn energy. Oddly, for kiddos that need to…