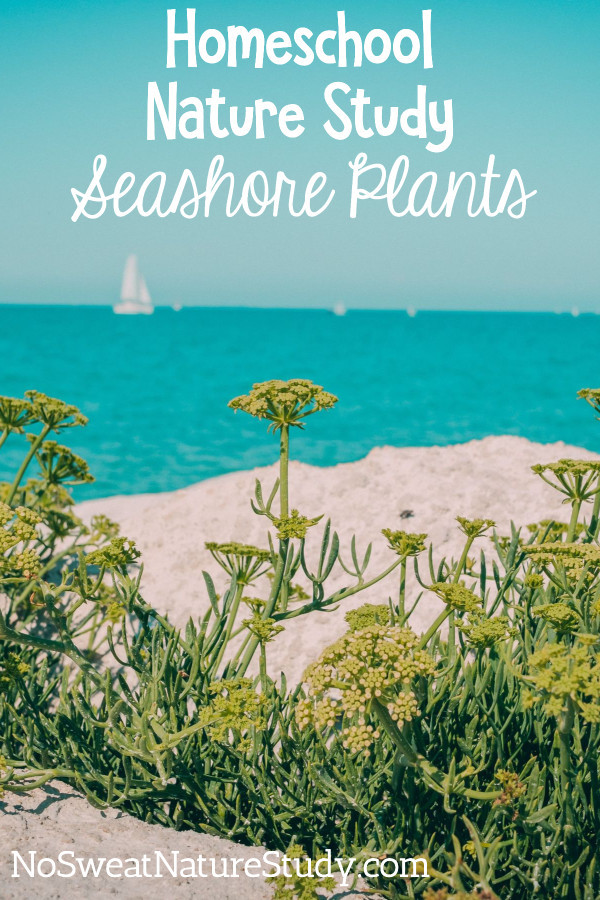
Posted by Cindy on November 4, 2011

I told you I’ve been slacking on my posts! Four botany study posts in four days doesn’t mean we’ve been studying botany in such depth every day. In fact, each topic took us at least a week to cover. Today’s post is about one of the lessons spent learning about fungi.

After some activities from
A Fungus Among Us and
Lyrical Life Science, Caleb was asked to go on photo walk. His goal was to find and photograph as many samples of as he could. With Eli (our little nature detective) helping, Caleb was able to photograph over 20 fungi varieties! Below are some of the most interesting photos.


Besides science and photography, this lesson was stretched to include writing and computer skills, too. I posted last week about the notebooking page he created.
Of course, with boys, a nature walk never ends up being entirely about the topic at hand. They always find exciting extras…


What nature studies have been keeping you busy this autumn?
Posted by Cindy on November 3, 2011
We came across this little scene in our yard the other day – some sweet little animal is busily preparing for winter!


A few days later, this is what we found in the same tree cavity! It was so full of hickory nuts that I asked my children if they had stuffed the hole. Everyone said no, which means there was A LOT of work done by some small creature in two or three day’s time!

Just yesterday, this HUGE flock of birds landed in the hay field just outside our house. It actually “got dark” as they were flying over the house!

Now is the perfect time for observing animals who are preparing for winter! Find all sorts of lesson ideas in Coping with the Cold!
Posted by Cindy on November 2, 2011
Caleb (and Eli) and I have been so loving our study of botany! This post highlights one of our activities as we learned about gymnosperms, particularly conifers.
Gymnosperms are plants with “naked seeds” that aren’t housed inside a fruit. Conifers (cone-bearing plants) are an example of a gymnosperm.
During this lesson, we had collected various twigs and cones from trees at our local cemetery. We don’t have very many conifers at all on our farm, but the cemetery has several varieties. We tried to only to collect specimens that had already fallen off the trees or seems to be part of a dying branch.

We compared the leaves of different trees. How were they alike/different? How were they attached to the twig?

We identified the parts and observed their characteristic and functions.

We pulled apart cones as an informal dissection. We were looking for seeds inside the cones, but all ours had already dropped their seeds.

Cones close in cold, wet weather to protect the seeds. We placed open cones in cold water and watched as they completely closed after a few hours.

Conversely, cones open in warm, dry weather. We set cones that were tightly closed in a 250 degree oven for an hour or so and watched as they opened completely.

While this wasn't part of the same lesson, our weekly art lesson used conifer samples as models for some practice with pastels.
If you’d like to find all sorts of detailed lesson ideas for studying conifers, check out the NaturExplorers study, Constant Conifers!
Posted by Cindy on November 1, 2011
In continuing our middle school botany study, we’ve been studying trees. A lot. Most of the activities we’ve done have come from the Delightful Deciduous Trees NaturExplorers study.
One super-interesting nature walk activity was finding the tap root (main root that grows straight down), lateral roots (large roots that grow outward or laterally) and fibrous roots (fine roots that grow downward from the lateral roots) of trees. We took a walk near a creek where we were likely to see root systems due to erosion. Our findings were way cool!

Exposed roots were everywhere making it easy for us to make plenty of observations.

As we walked the dry parts of the creek bed, we were able to find shelves of erosion showing grass and wildflower roots from above, too!
(The Everchanging Erosion NaturExplorers study would be great for this topic, too. I’m just sayin’.
)
After plenty of experiences along with lots of living science literature, I gave Caleb a “test” of sorts. He had to complete the file folder report below to prove his knowledge of trees. (The file folder template came from Easy File Folder Reports, Grades 3-6
.) As a review before the “test”, I had him read a wonderful little book called A Tree is Growing
by Arthur Dorros.

And I can’t forget the ever-so-interested preschooler who loves to be part of our botany lessons. He gathered some leaves on our walk and created some simple, but pretty, leaf prints when we returned home.

Posted by Cindy on October 31, 2011
We always enjoy a living math lesson with pumpkins! All our children participated according to their abilities – from the 4yo to the 14yo. The 11yo and 14yo were expected to measure with complete accuracy, while the 4yo dabbled in learning how to measure. He used standard (rulers) and non-standard (blocks) measuring tools.

We measured the height and width of each pumpkin.

We measured the weight with our bathroom scale. A nice kitchen scale (which we don't own) would've provided more accurate measurements.

We measured the circumference and the big kids used formulas to determine the diameter and radius.

Here's the beginning of Mahayla's record keeping.

When Eli saw his big brother and big sister keeping records, he insisted that he have a record keeping sheet, too. W = wide and T = tall.

We did a water displacement activity to find the volume of our pumpkins (you'll see below), but we didn't have a big enough container marked with measurements to make the pumpkin displacement accurate. To demonstrate the correct way to find volume, we used a measuring cup and potato. At least this gave them a better idea what we were doing wrong in measuring the volume of our pumkins.

In measuring the volume of our pumpkins, we made our own measurement bucket for estimations, but realized our measurements probably were not perfect, nor could we see through the bucket to see exact water levels. At least they have the experience and understand the flaws in our trial.

Of course, we couldn't end the lesson without carving our pumpkins! Through this process, we continued to measure width of the skin, depth of the cavity, and such. We also talked "science" as we discussed the pumpkin parts and their functions.

And, we couldn't end the lesson without a pumpkin treat. These are simple pumpkin bars that are so moist, they don't even need icing!
I hope you’ll find a few leftover pumpkins at the market and have your own living math lesson!