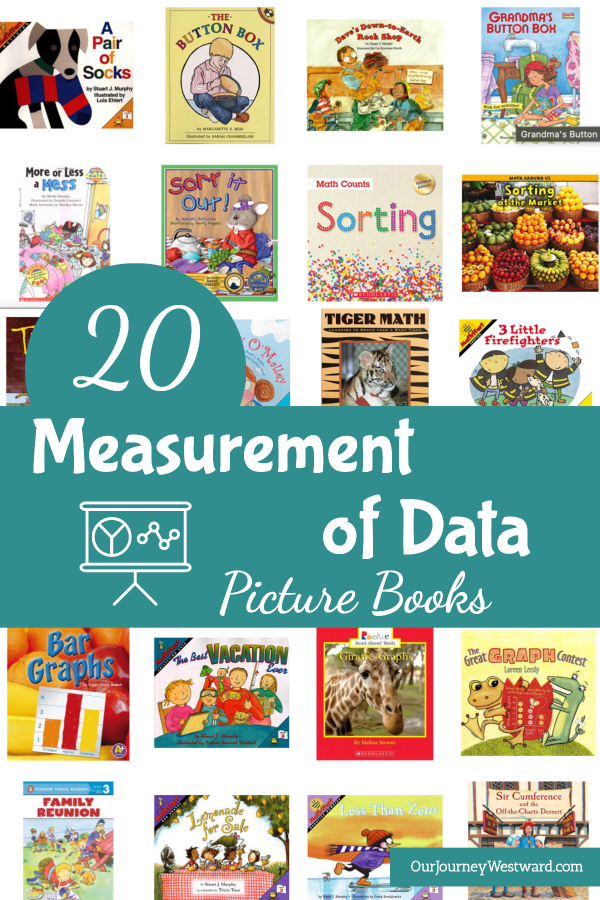
subscribe to the RSS Feed

Saturday, February 4, 2012

Candy Heart Valentine’s Day Math Printables

Posted by Cindy on January 23, 2012

A year or two ago, I created a couple of Valentine’s Day printables for you to enjoy with your children.  I thought I’d remind you about them since V-Day is just around the corner.  Simply click on the graphics to download. :)

The Measure of a Heart uses candy hearts to practice measuring perimeter and area.  After finishing the worksheet, use your candy hearts to measure the perimeter and area of other things around the house.

(In case you need to know…Perimeter is the measurement around an object and area is the measurement of an object’s surface.  To measure the perimeter of the hearts on the worksheet, place candy hearts around the edges of the hearts – the dark lines – and count how many it takes to go all the way around.  To measure the area, see how many candy hearts will fit inside the hearts on the worksheet.)

The Candy Pattern worksheet (which didn’t transfer to a jpg well and is MUCH nicer in the PDF download) allows your child to make various patterns using candy hearts.

(In case you need to know…each of the letters on the worksheet (A, B, C) represent a different colored candy heart.  So, for instance, an ABA pattern, where A represents pink and B represents green would look like: pink, green, pink, pink, green, pink, pink, green, pink.  Your child gets to decide which colors represent each letter of the pattern.)

You can find several other fun math related V-Day ideas at Googol Learning.

I’ve been pinning fun ideas on my Valentine’s Pinterest board, too!

For those of you interested in learning how to add more living math into your homeschool, consider Loving Living Math.

Photobucket

Positive Negative Symmetry Art

Posted by Cindy on January 19, 2012

An art lesson that promotes mathematical thinking – oh joy.  With the main focus being on the art concept of positive and negative space, throwing symmetry into the mix gave a nice extra punch to the lesson.

Positive space is the area on a piece of art which the subject occupies, while negative space is the area around the subject.  You can see in this symmetrical example that the positive space is the pink on the left, but changes to yellow on the right.

The method is quite simple.

1. Find two contrasting colors of the same sized paper.

2. Fold both papers in half to establish the line of symmetry.

3. Set one paper aside.

4. Cut the 2nd piece of paper in half on the fold you just made.  Discard one of the halves.

5. Draw 1/2 of a shape.  (Like you would do if you were making paper hearts and planned to open the paper up once the heart was cut out.  Except, in this case, you’ve already discarded the other half.)

6. Cut out your shape, keeping all pieces.

7. Place the positive space pieces on one side of the line of symmetry on the 2nd sheet of paper.  Place the negative space pieces on the other side.  Situate all the pieces so that they meet the line of symmetry perfectly and match up with one another.

8. Glue.

This lesson was inspired by Dick Blick and is one of the many integrated math and art lessons I’ve pinned on my Living Math Pinterest Page!

(Sorry, not the best photo, but I wanted you to see the possibilities.)

Candy Math and Science

Posted by Cindy on November 2, 2011

Got candy?  We do, and we’re having so much fun using it during living math lessons!  This year we added a little science classification to the mix, too.  Fun!  Fun!  Fun!

Math

My preschooler made a concrete graph with his candy.

He had to sort the candy into groups before we could graph them and he created the group names all by himself – gum, chocolate, suckers, crunchy, chewy and hard.

After completing all sorts of averages based on different groupings of the candy, Caleb (6th grade) created this graph using Excel.  (This is another great computer integration activity for those of you who’ve asked me to share more about how we use the computer in our homeschool!)

Science

Not a great picture, but I wanted you to see the entire concrete classification system my 6th grader made with his candy.  {A classification system is otherwise known as a taxonomy, which we compared to the classification system for plants and animals.}

Beginning with the main group of ‘candy’, Caleb decided how to break the large group into two smaller groups. He came up with ‘chocolate’ and ‘non-chocolate’ as his descriptions.

For each new category, he continued breaking the groups down into two new categories until he ended up with each specific type of candy in it’s own pile.

Finally, we walked through each candy’s “classification”. An example from our taxonomy chart -Candy; chocolate; bright wrappers; made with peanuts; made with peanut butter, crunchy, Butterfinger. Besides being a science activity, this also fits into the category of logic!

Check out some other candy math lessons we’ve posted in the past, too!

Pumpkin Math

Posted by Cindy on October 31, 2011

I know I’m a little late in posting this, but the month of November is still perfect for some pumpkin fun! 

Actually, I’m a little late in posting a lot of things.  My goal this week is to polish and publish as many posts as I can before The Heart of the Matter’s 10 Days of …. Series begins next week.  Did I mention I was taking part in that again?  I know I mentioned it on my Facebook page, but just in case you missed it, I’ll be writing TEN days of posts on the topic of Values Training beginning next Monday, Nov. 7th!  There are lots of wonderful blogs participating, each with exciting topics!

Anyway, off to today’s post – a living math lesson with pumpkins!  All our children participated according to their abilities – from the 4yo to the 14yo.  The 11yo and 14yo were expected to measure with complete accuracy, while the 4yo dabbled in learning how to measure.  He used standard (rulers) and non-standard (blocks) measuring tools.

We measured the height and width of each pumpkin.

We measured the weight with our bathroom scale. A nice kitchen scale (which we don't own) would've provided more accurate measurements.

We measured the circumference and the big kids used formulas to determine the diameter and radius.

Here's the beginning of Mahayla's record keeping.

When Eli saw his big brother and big sister keeping records, he insisted that he have a record keeping sheet, too. W = wide and T = tall.

We did a water displacement activity to find the volume of our pumpkins (you'll see below), but we didn't have a big enough container marked with measurements to make the pumpkin displacement accurate. To demonstrate the correct way to find volume, we used a measuring cup and potato. At least this gave them a better idea what we were doing wrong in measuring the volume of our pumkins.

In measuring the volume of our pumpkins, we made our own measurement bucket for estimations, but realized our measurements probably were not perfect, nor could we see through the bucket to see exact water levels. At least they have the experience and understand the flaws in our trial.

Of course, we couldn't end the lesson without carving our pumpkins! Through this process, we continued to measure width of the skin, depth of the cavity, and such. We also talked "science" as we discussed the pumpkin parts and their functions.

And, we couldn't end the lesson without a pumpkin treat. These are simple pumpkin bars that are so moist, they don't even need icing!

I hope you’ll find a few leftover pumpkins at the market and have your own living math lesson!

Abstract Art and Living Math

Posted by Cindy on October 6, 2011

Thanks to Pinterest, I am finally able to remember all those fun ideas I come across while surfing the Internet!  This activity was stolen from Heather over at Blog, She Wrote.  Thanks, Heather!

I love incorporating math with other subjects.  In this simple activity, math and art come together to make a pretty spectacular finished product.

  • Use watercolors to make whatever design you like on card stock.
  • On the back of the dried artwork, use a ruler to make a grid of one-inch blocks.
  • Cut the blocks apart and mix the pieces up.
  • Lay the blocks randomly on another piece of card stock to create an abstract picture.
  • Glue the pieces down securely.

We didn't have carstock, so I substituted old folders. I would definitely plan to use cardstock next time for easier measuring.

Since math is part of the lesson, be precise in creating the grid and cutting the squares so the pieces fit together nicely in the final product.

Mahayla's fiished artwork.

Caleb's final artwork.